Pets Radar - DIY cat toys you can make at home
Posted on 15 February, 2021

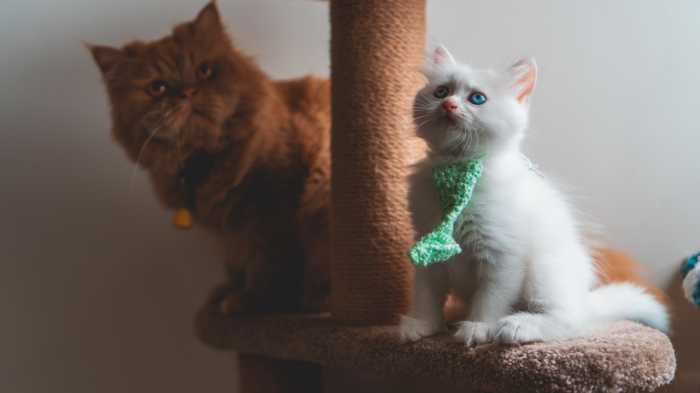
Photo by Shubham Sharma on Unsplash
Why should you go to the trouble of making DIY cat toys? Well, there’s nothing quite like the feeling of stepping back and admiring something you’ve just made, and with this guide to making DIY cat toys you’ll (hopefully) have the added bonus of watching your pet enjoy the finished products. Making your own toys enables you to tailor them to your cat’s size and preferences, and even to match them to your décor.
None of these DIYs require unusual materials – you probably have a lot of them around the house already.
If you find yourself short of time then try our guide to the best cat toys or our list of the 10 best interactive cat toys for some ready-made options.
1. Easy toy mouse
YOU WILL NEED:
- Piece of fabric at least the size of your hand – felt, fleece and cotton (including old t-shirts and shirts) all work well
- Scissors
- Sewing needle
- Thread – black, pink and the color of your fabric
- Stuffing – soft toy filling, cotton wool, fabric scraps, or yarn
- Pink yarn or ribbon
- Prep time: 35-45 minutes
Steps
- Cut out a squat teardrop shape from your fabric – the size is up to you, just make sure it’s big enough that the finished mouse won’t be a choking hazard.
- Cut out a much smaller teardrop for the first ear, then use it as a template to cut out a second ear. Snip the pointy end off of both.
- Using black thread, sew a few small stitches on each side of the large teardrop to create a pair of eyes.
- Fold the large teardrop in half and sew along the edge from the nose, leaving a gap at the back for stuffing. You have two options – either fold the fabric so the eyes are on the inside, then sew along the edge and turn the mouse inside out (giving you a neater finish as the stitches will end up on the inside); or just fold the teardrop with the eyes on the outside and sew it up.
- Push your chosen stuffing through the gap at the back, packing it in until the mouse is a good shape.
- Position your pink ribbon or yarn so that at least half an inch is tucked into the body of the mouse. Sew up the gap at the back, making sure your needle goes through the tail several times before tying off the thread. Give the tail a tug to make sure it’s securely attached.
- Using pink thread, sew a few stitches across the point of the body to create the mouse’s nose.
- Fold the blunt end of one of the small teardrops so that the corners meet, then sew onto the body. Repeat on the other side with the second ear. Tug both ears and add extra stitches if needed.
Box palace
Sometimes cats would rather play by themselves than with people, and it’s no secret that they love boxes. Put this box palace together in a few minutes to give your cat a comfy place to rest and play.
The box and cushion can be left in place if your cat approves of its new DIY palace, but only attach the play cord when someone is around to supervise.
YOU WILL NEED:
- Cardboard box
- String or rope
- Tassels or strips of fabric
- Cushion or blanket
- Prep time: 10 minutes
Steps
- Give the box a wipe with a cloth if it has any dust or crumbs in it.
- Turn the box on its side and place a cushion or folded blanket in the bottom.
- Slide tassels or tie strips of cloth onto a length of string or cord.
- Attach the string or cord to the top of the box’s opening – simply loop around the flap and tie at the top, or make some holes on either side and tie each end separately for a more secure fastening.
Thing on a string
Fishing pole-style toys tap into your cat’s hunting instincts, giving them something to jump for and grab at. There are a couple of suggestions here, but this toy can easily be adapted based on the materials you have at home.
YOU WILL NEED:
- Dowel, bamboo cane or similar
- Cord
- Wool
- Small bell
- Tassels or strips of fabric
- Glue
- Needle and thread
- Small screw eye
- Prep time: 30 minutes
Steps
For the spider you will need to follow these steps:
- Cut cord to the desired length and attach to the pole – glue it on or tie it to a screw eye twisted into the end.
- Tie bell to the end of the cord.
- Cut four pieces of black cord about the length of your forearm.
- Holding all four pieces together, knot around the main cord just above the bell.
And for the tassel to, you'll need to:
- Cut cord and attach it to the pole.
- Tie or sew tassels or strips of fabric to the end.
- Make pom-poms from the wool. There are plenty of tutorials online – they can be made by wrapping wool around cardboard, a fork, or just your hand.
- Sew the pom-poms and bell onto the cord. Give them a pull to make sure they’re securely attached.
Other options for this toy include felt shapes, small stuffed toys, craft feathers, and ‘feathers’ cut from fabric. Try several if you’re not sure which items your cat likes best. Remember to put these toys away when your cat’s done playing, or when you’re leaving the room – they’re easy to get tangled up in without someone holding the pole.
Toy tower
Up for a bigger challenge? This tower is simpler than it looks, and can be customized to suit your cat’s favourite ways of playing and the materials you have to hand.
Work around your materials with this one – there are endless ways you can set out a cat tower. You can use thick cardboard tubes instead of wood for the upright pieces, or make platforms from old drawers. Why not add a box, a hammock, or a ladder?
YOU WILL NEED:
- Wood – pieces for the uprights, and pieces for the base and platforms
- Saw
- Nails or screws
- Hammer and/or drill
- Soft fabric – carpet, felt, or fleece
- Staples and staple gun
- Carpet offcut or sisal
- Cord
- Wooden beads
- Pet brush
- Prep time: up to three hours
Steps
- Decide how many levels you want, how tall you’d like the tower to be and how large you want each of the platforms. As an example, the dimensions of our tower are below
- Choose or cut a piece of wood for the base – it should be large and heavy enough to keep the tower stable.
- Cut two identical pieces to form the support for the highest platform, and screw or nail them to the base, towards the back but not right on the edge. Attach the top platform.
- Cut a support for the middle platform and attach to the base. Nail a wooden block to the side of the taller support (level with the top of the new piece) then attach the middle platform.
- Cut a final piece to support the lowest level. Nail wooden blocks to the three other supports, and attach the platform.
- Cover each platform with soft fabric, wrap it over the edges, and staple it to the underside.
- Add toys – we’ve attached a brush for self-grooming, carpet for scratching, and a pom-pom and string of beads for batting.
- Check all the staples and nails/screws are secure and flush with the wood before letting your cat climb its new tower.
Fun for you and your cat
There are endless ways to keep your cat entertained without buying anything new. Get creative and work with what you have – just remember to check that all the parts of your homemade toys are attached securely, and supervise your cat while it plays.
To read the original post where images can also be found for each DIY toy, please visit - https://www.petsradar.com/how-to/diy-cat-toys-you-can-make-at-home
Tags:


